Tricorn hats with cockades (rosette-like attachments to hat) were popular fashion for civilians and military personnel during the Revolutionary War. Most tricorn hats were black, but cockades could be made from many different colors. Cockade colors were sometimes used to denote political affiliations, and during the Revolutionary War, George Washington used them to first show different ranks in the army, and then to symbolize United State’s newly formed alliance with the French.
Below are the steps and templates you need to make your own tricorn hat and cockade. For more information and a tutorial, click here!
Templates below in order: tricorn hat, large cockade, small cockade, and feather. Templates as close to scale as possible, so all you have you
Supplies
- 3 pieces of construction paper to make the hat (black or any color that you like)
- 2 pieces of construction paper to make the cockade (any 2 colors that you like)
- 1 piece of construction paper to make a feather (any color that you like)
- Templates for hat, cockade (2 sizes), and feather
- Thin cardboard
- Glue
- Pencil
- Scissors
- Stapler
- Hole punch
- Round head fasteners
Instructions
- Print out templates for hat, large cockade, small cockade, and feather.
- Glue them onto thin cardboard.
- Cut out the templates.
- Trace around the templates on construction paper. You will need 3 of the pieces for the tricorn hat, 1 piece for each of the other templates.
- Cut out the pieces of construction paper.
- If you want, make cuts on each side of the feather to give it texture.
- MAKING THE TRICORN HAT - Take 2 pieces of the hat template, and line them up. Staple the pieces together at one end. (Position the staples closer to the center for a smaller fit, or closer to the end for a larger fit.)
- Open the unstapled end and insert the 3rd hat piece, lining it up with one of the unstapled ends, and staple those pieces together. Line up the remaining unstapled ends, and staple those together to complete your hat. Set hat aside, or on your head, while making the cockade.
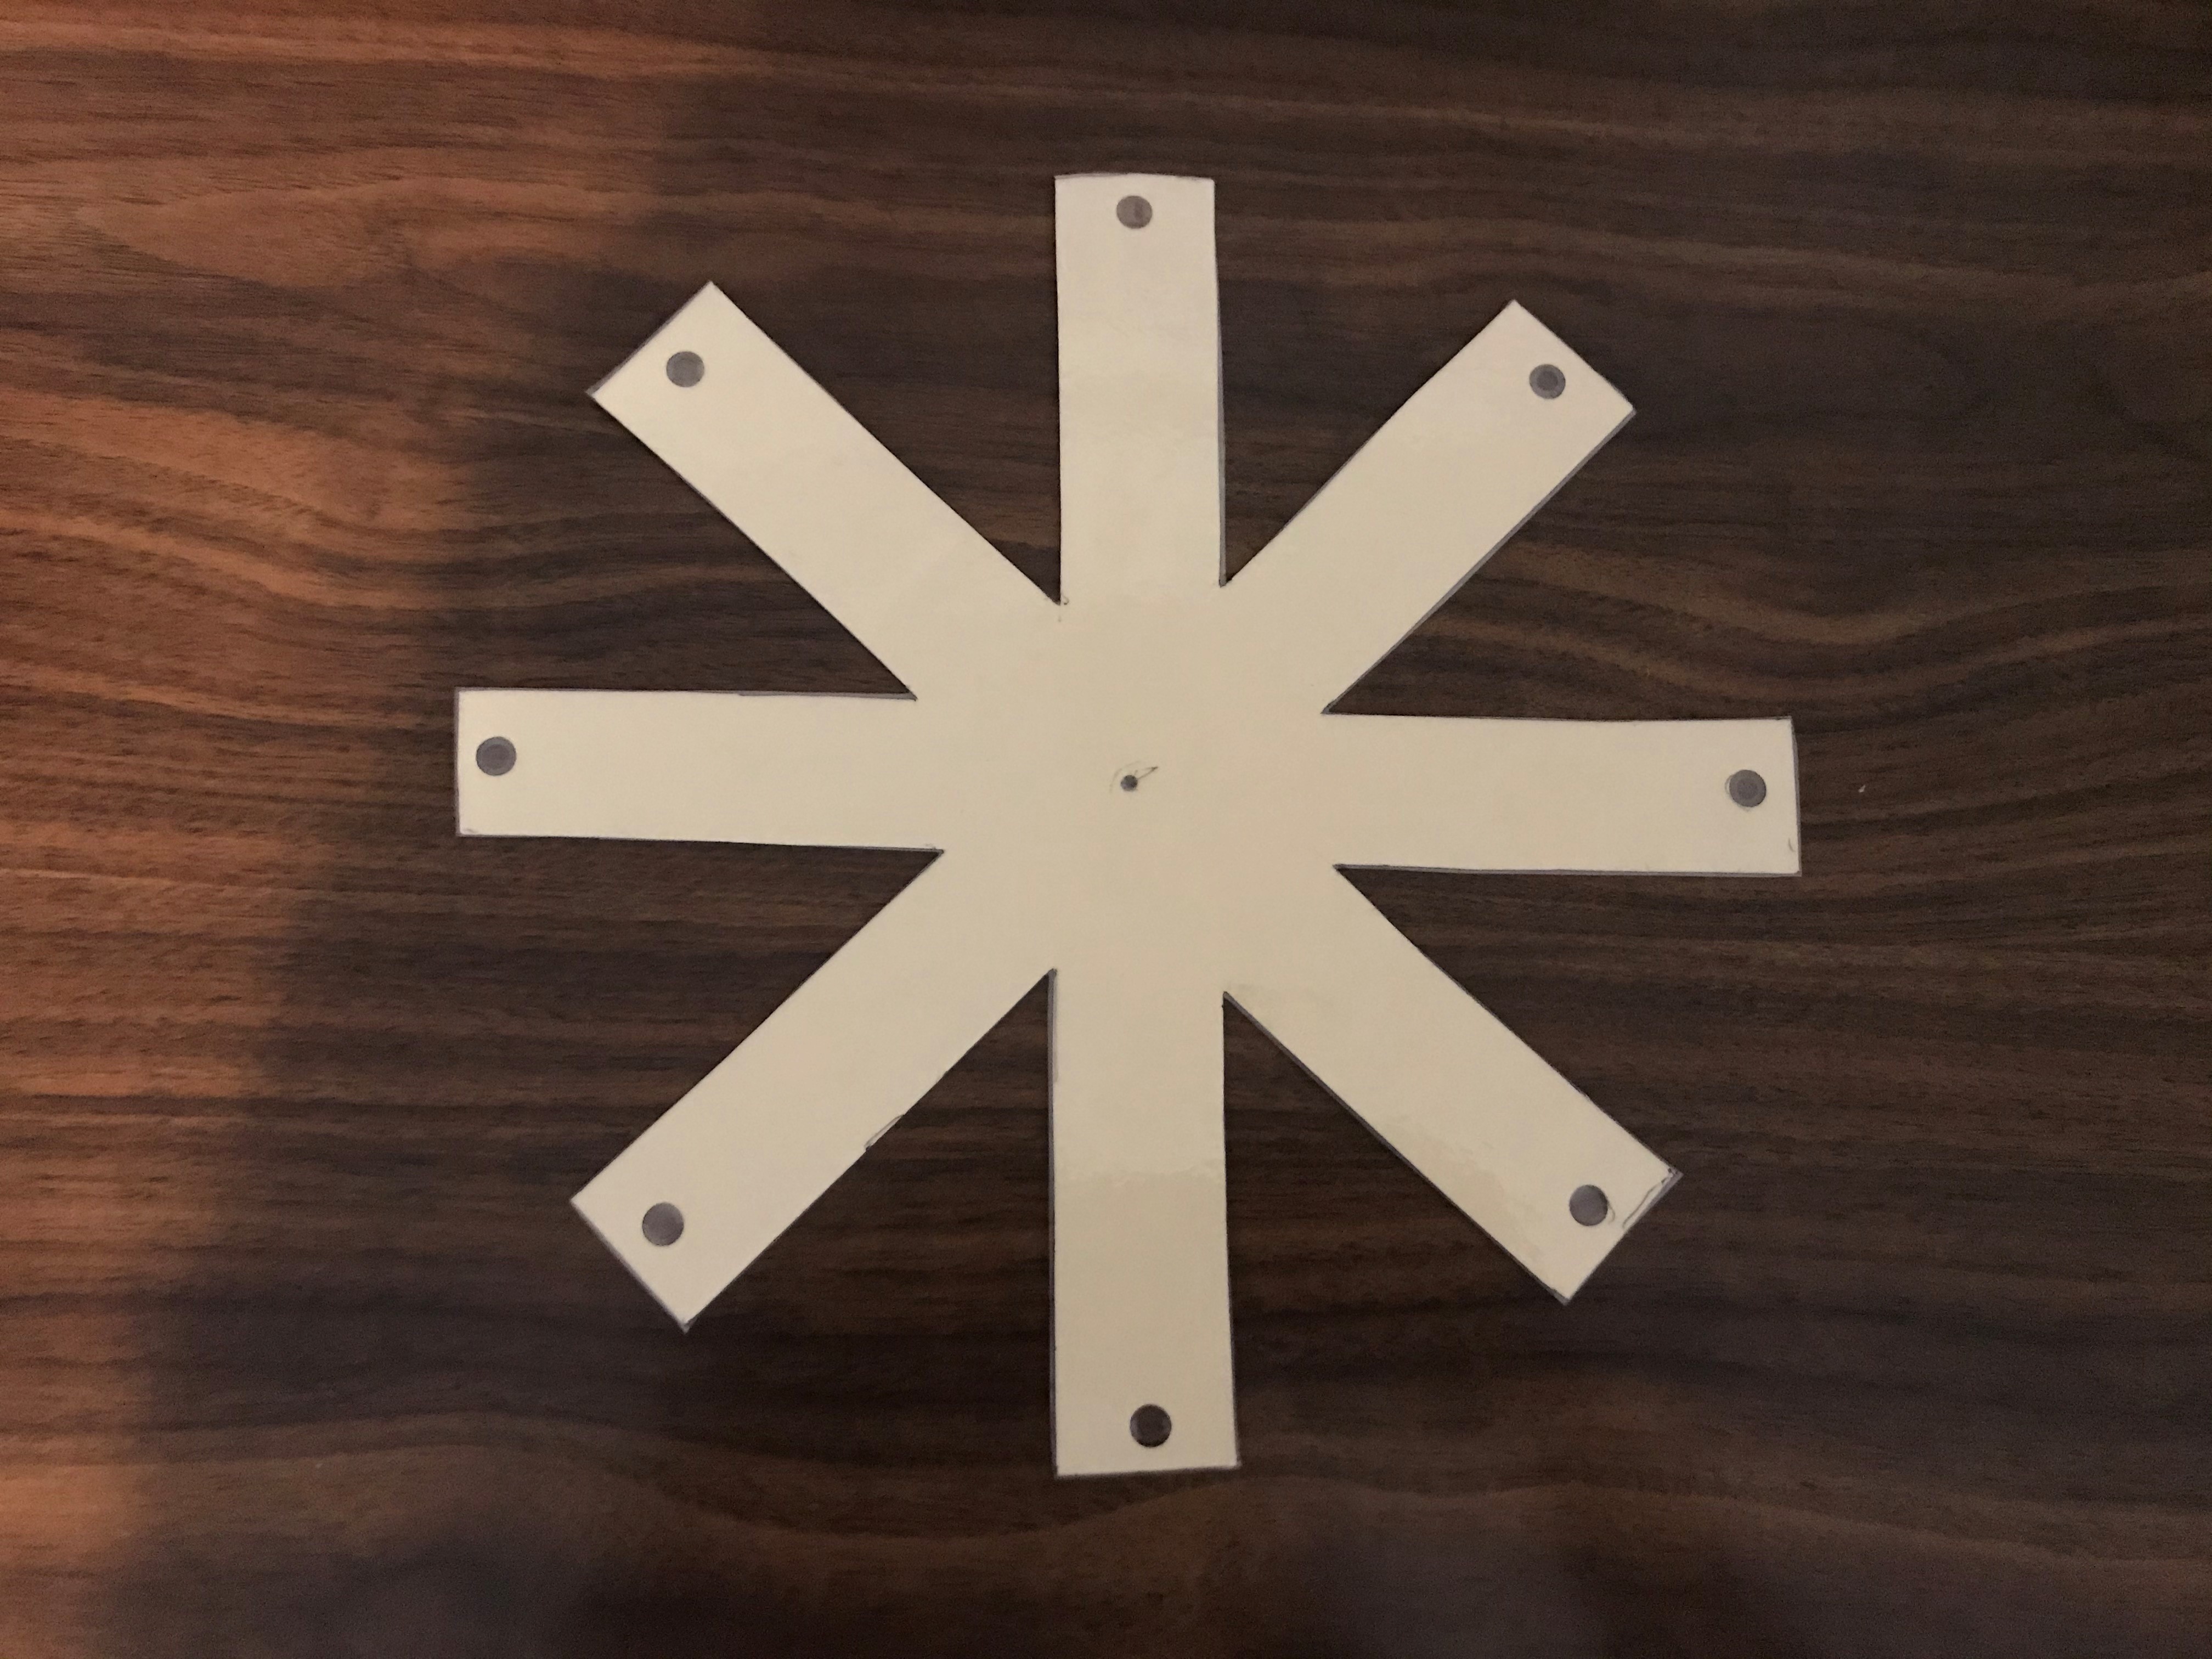
- MAKING THE COCKADE - Start with the small cockade piece, punch one hole at the very end of each arm and make a hole at the center. (If the hole punch doesn’t reach, just poke a hole with scissors or the fastener.) One at a time, fold in each arm, lining up the hole at the end with the center hole. When all arms are folded down, insert the fastener, with the round head in front, through all the holes and through the center then fold out the 2 metal tabs at the back of the paper to keep it together.
- For the large cockade piece, punch one hole at the very end of each arm and make a hole at the center. Repeat the process of folding in each arm and lining it up with the center hole, just like you did for the small cockade. When all arms are folded down, hold onto it, keeping it lined up, (or use an extra fastener temporarily to hold it together,) while you open the fastener of the small cockade, but don’t take it out of the small cockade.
- PLACE THE COCKADE ON THE HAT - Push the fastener through the large cockade, and then push the fastener through the feather, and then push the fastener through the hat, placing the cockade where you like. Fold down the metal prongs of the fastener on the inside of the hat. Place hat on your head and call yourself a Yankee Doodle Dandy!


No comments:
Post a Comment